SSO Integration
This guide will help you configure Microsoft SSO integration for your application. By setting up SSO, your users can securely log in using their Microsoft Azure AD credentials.
Where to start
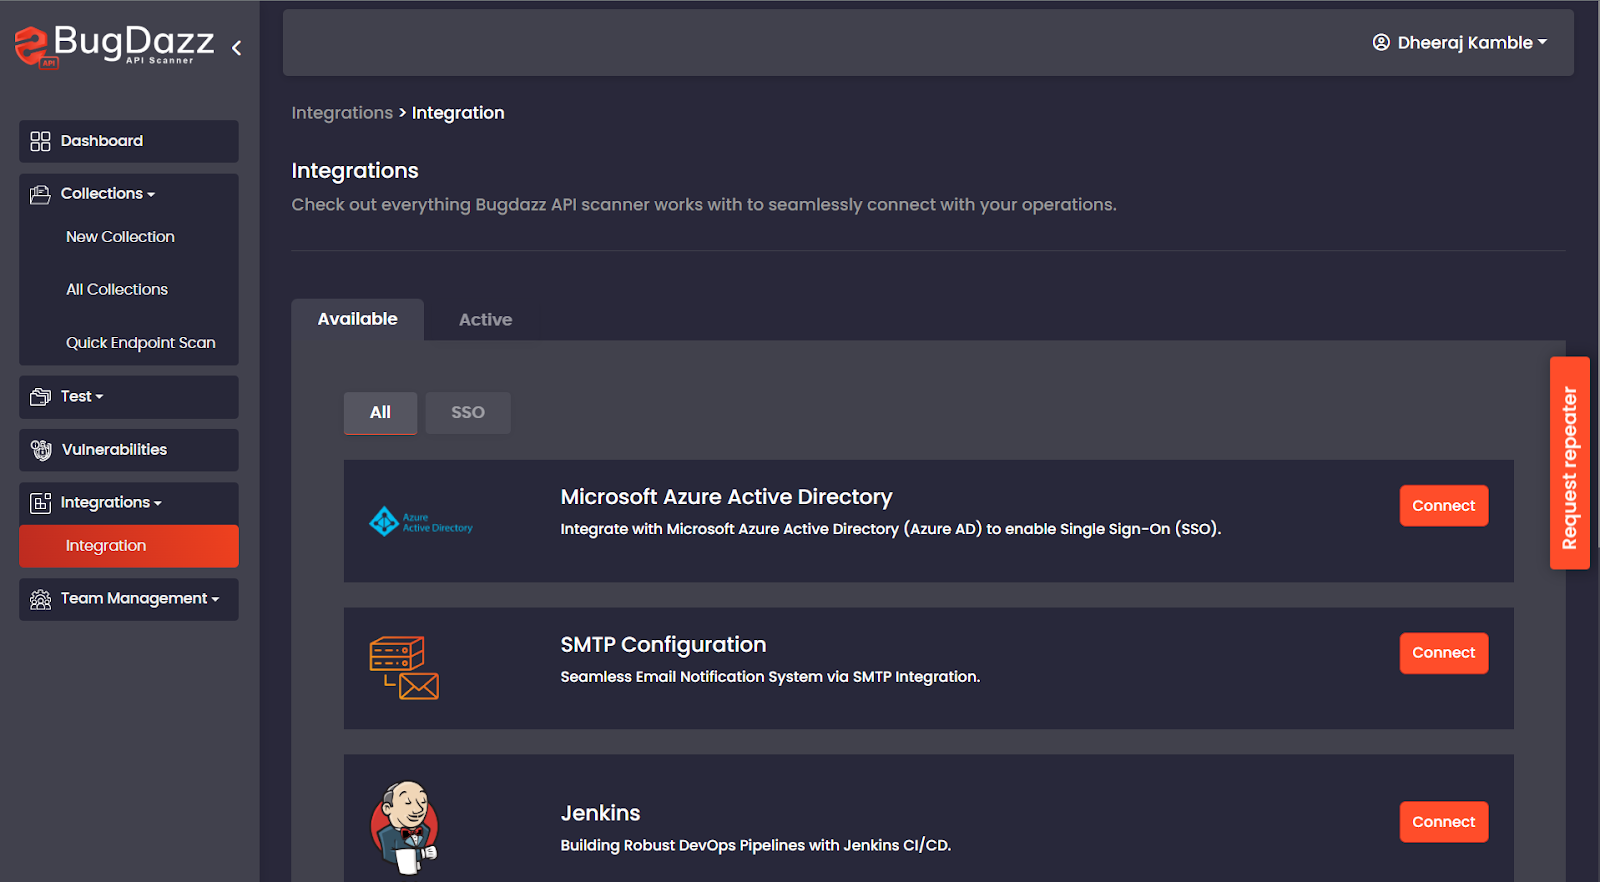
- Open API Scanner
- Go to Integrations menu from the left side menu
- Click the 'Connect' button in front of Micrisoft Azure Active Directory to setup SSO.
🛠️ Steps to Configure
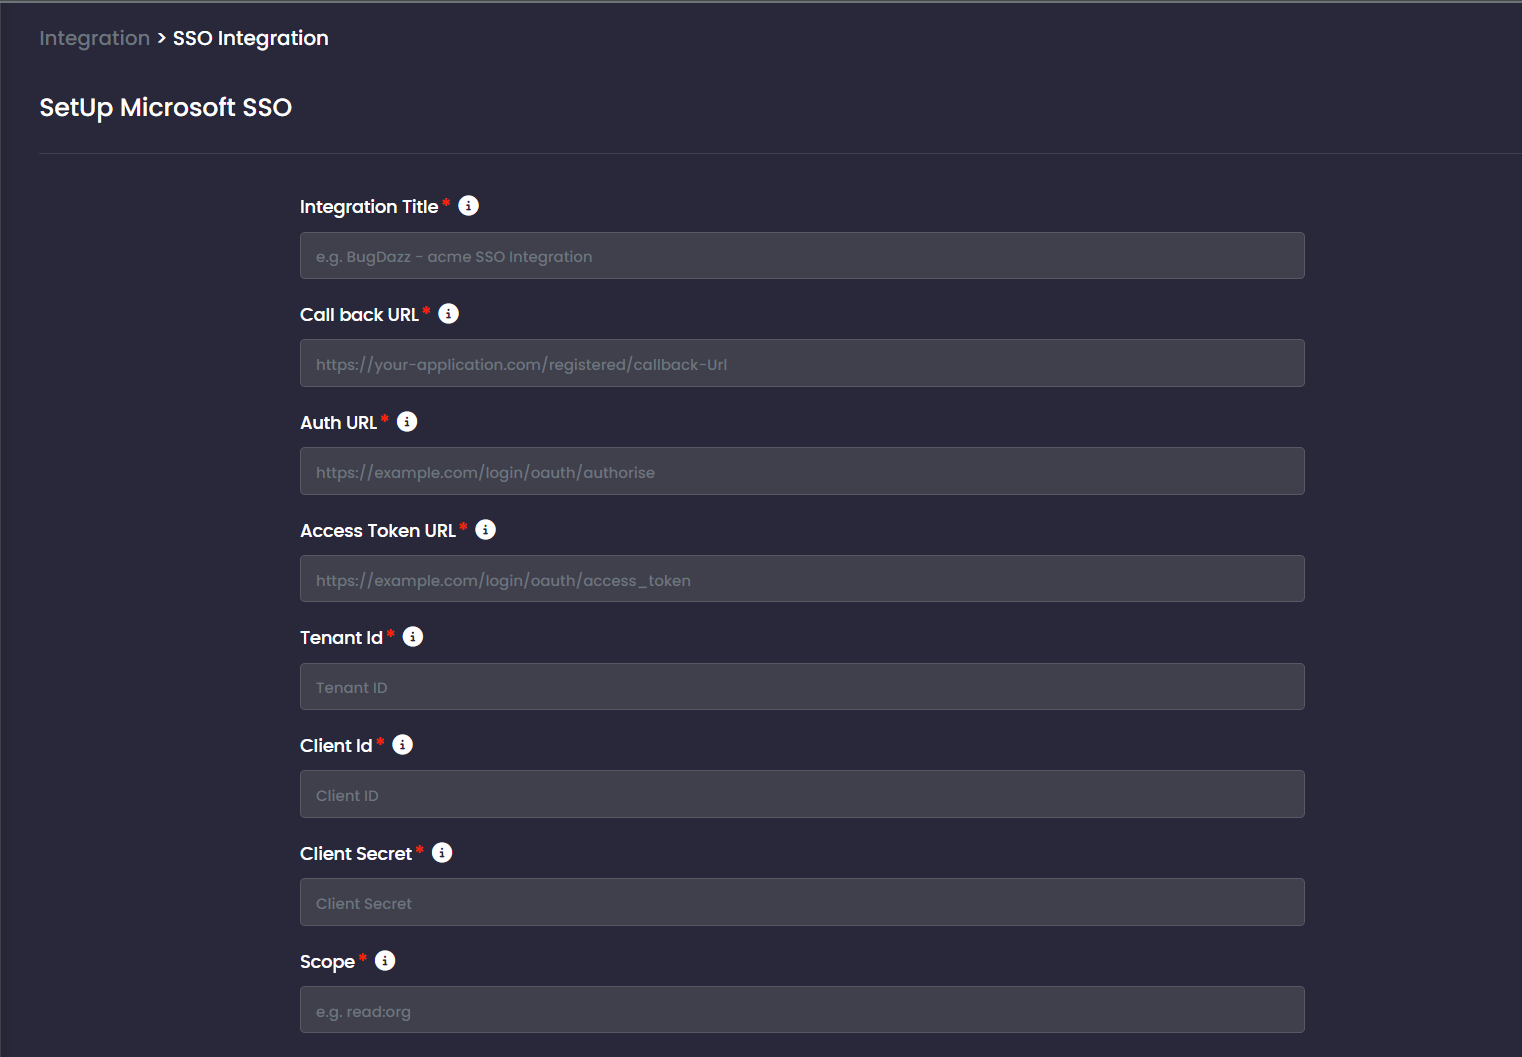
1. Fill in the Integration Form Fields
| Field | Description |
| Integration Title | A name for your integration. Example: BugDazz - Acme SSO Integration. |
| Call back URL | The redirect URL where users will be sent after authentication. This must match what is configured in your Azure App Registration. |
| Auth URL | The Microsoft OAuth 2.0 authorization endpoint. Example: https://login.microsoftonline.com/common/oauth2/v2.0/authorize |
| Access Token URL | The token endpoint to fetch access tokens. Example: https://login.microsoftonline.com/common/oauth2/v2.0/token |
| Tenant ID | Your Azure Directory (Tenant) ID. This uniquely identifies your organization. |
| Client ID | The Application (client) ID generated from Azure AD App Registration. |
| Client Secret | A secret string generated in Azure for your app. Keep this secure. |
| Scope | Permissions your app is requesting. Example: openid profile email or User.Read depending on your requirement. |
2. Test the Connection
Once all fields are filled:
- Click “Test Connection”
- The system will verify if the credentials and endpoints are valid.
- You will be notified if the test succeeds or fails with reasons.
3. Save the Configuration
If the test connection is successful:
- Click “Save” to store your SSO integration.
- Your Microsoft SSO setup is now ready for use.
📌Notes
- Make sure the Call back URL is whitelisted in your Azure app under Redirect URIs.
- Use the correct tenant-specific URLs if required (replace common with your Tenant ID in URLs).
- If you update the client secret in Azure, remember to update it here too.